Here we are at seven, which is a very important number in sacred geometry.
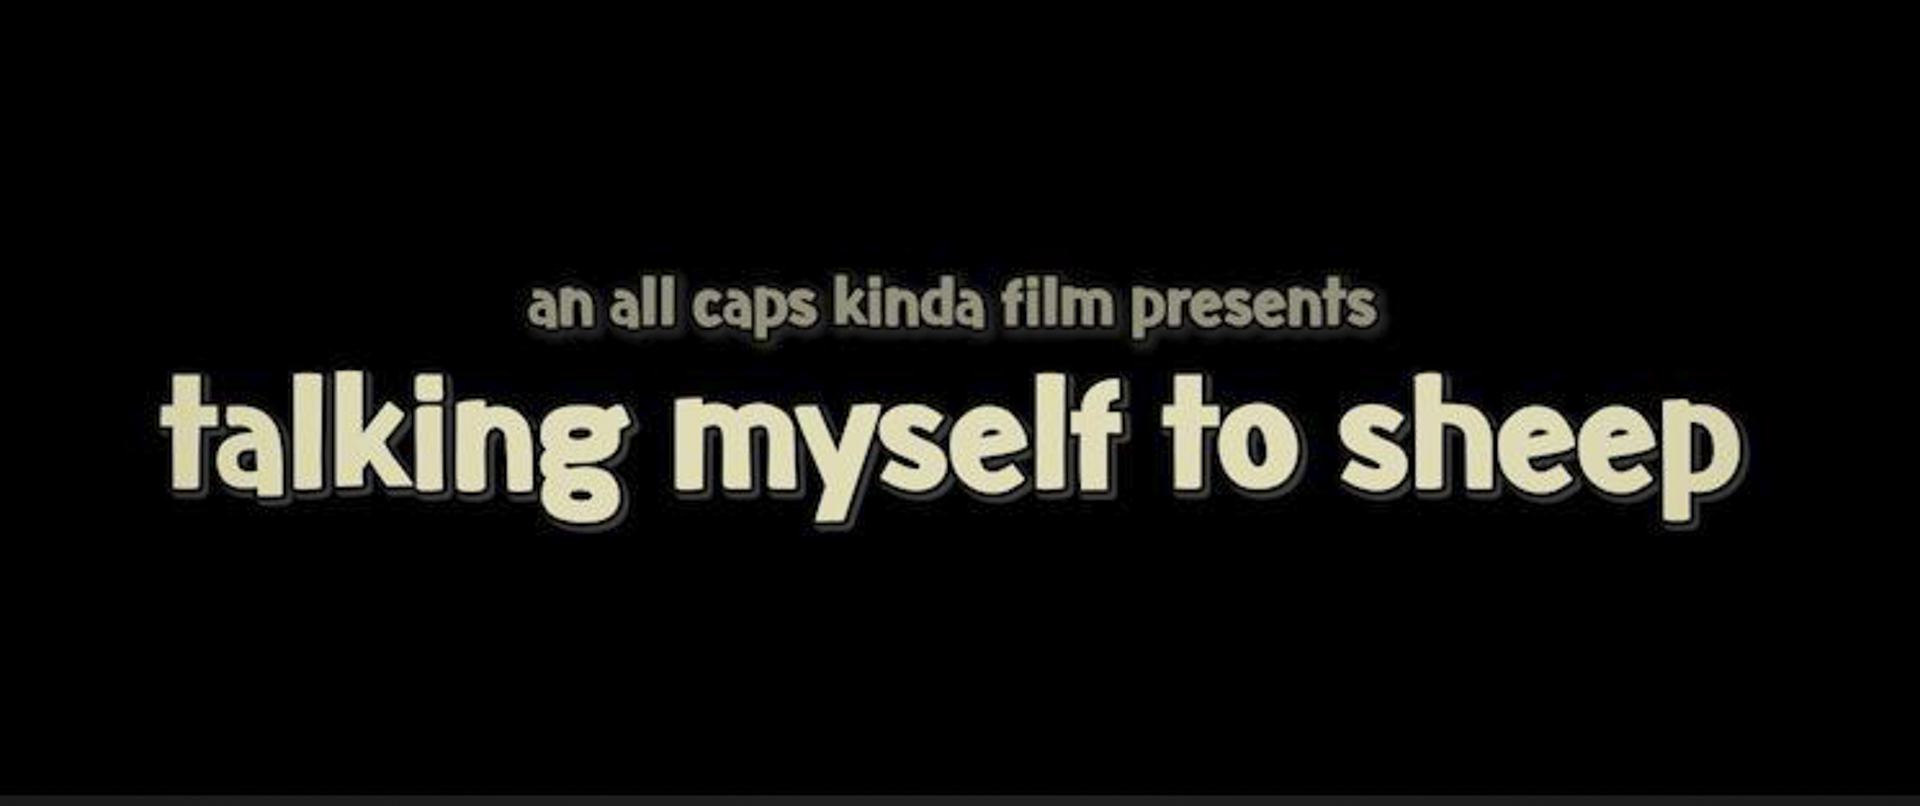
That’s right, this is it, part seven of the A CERTAIN WAY TO MAKE A SHORT FILM series that covers my personal process for creating an animated short film – from start to finish. In the first six parts of this series I have covered pre-production and production as well as the beginnings of the edit. However, this is the final issue that focuses on the creation of the film. Special FX, Audio and Finalizing are all headed your way.
As always, thanks again to anyone who has made it this far into this blog series! Although I’ve learned a bit about the process of creating a blog, I am certainly not an expert and I appreciate anyone who has had the patience thus far to follow along. It means a lot and I hope that this series has been insightful and informative to anyone reading as it has been to me.

So, let’s begin.
The rough edit is finished, and now… the animation can begin. Personally, without a doubt, this is easily the most daunting task the short-film has seen. In total, the short clocks in at around 5 minutes – half of which will feature animated sheep.
So far, the sheep have been created (see pt. 2) and these are the files that I will animate from. The process is quite simple once understood but with 6 sheep, can be quite tedious as times passes.
The process is as follows: bring PSD file into After Effects and create a composition for it, add additional PSD featuring “mouths” and align with the PSD of the sheep, go back to Premiere and render a base track of audio from the scene, add this to the composition with a few more effects and you can begin animating.
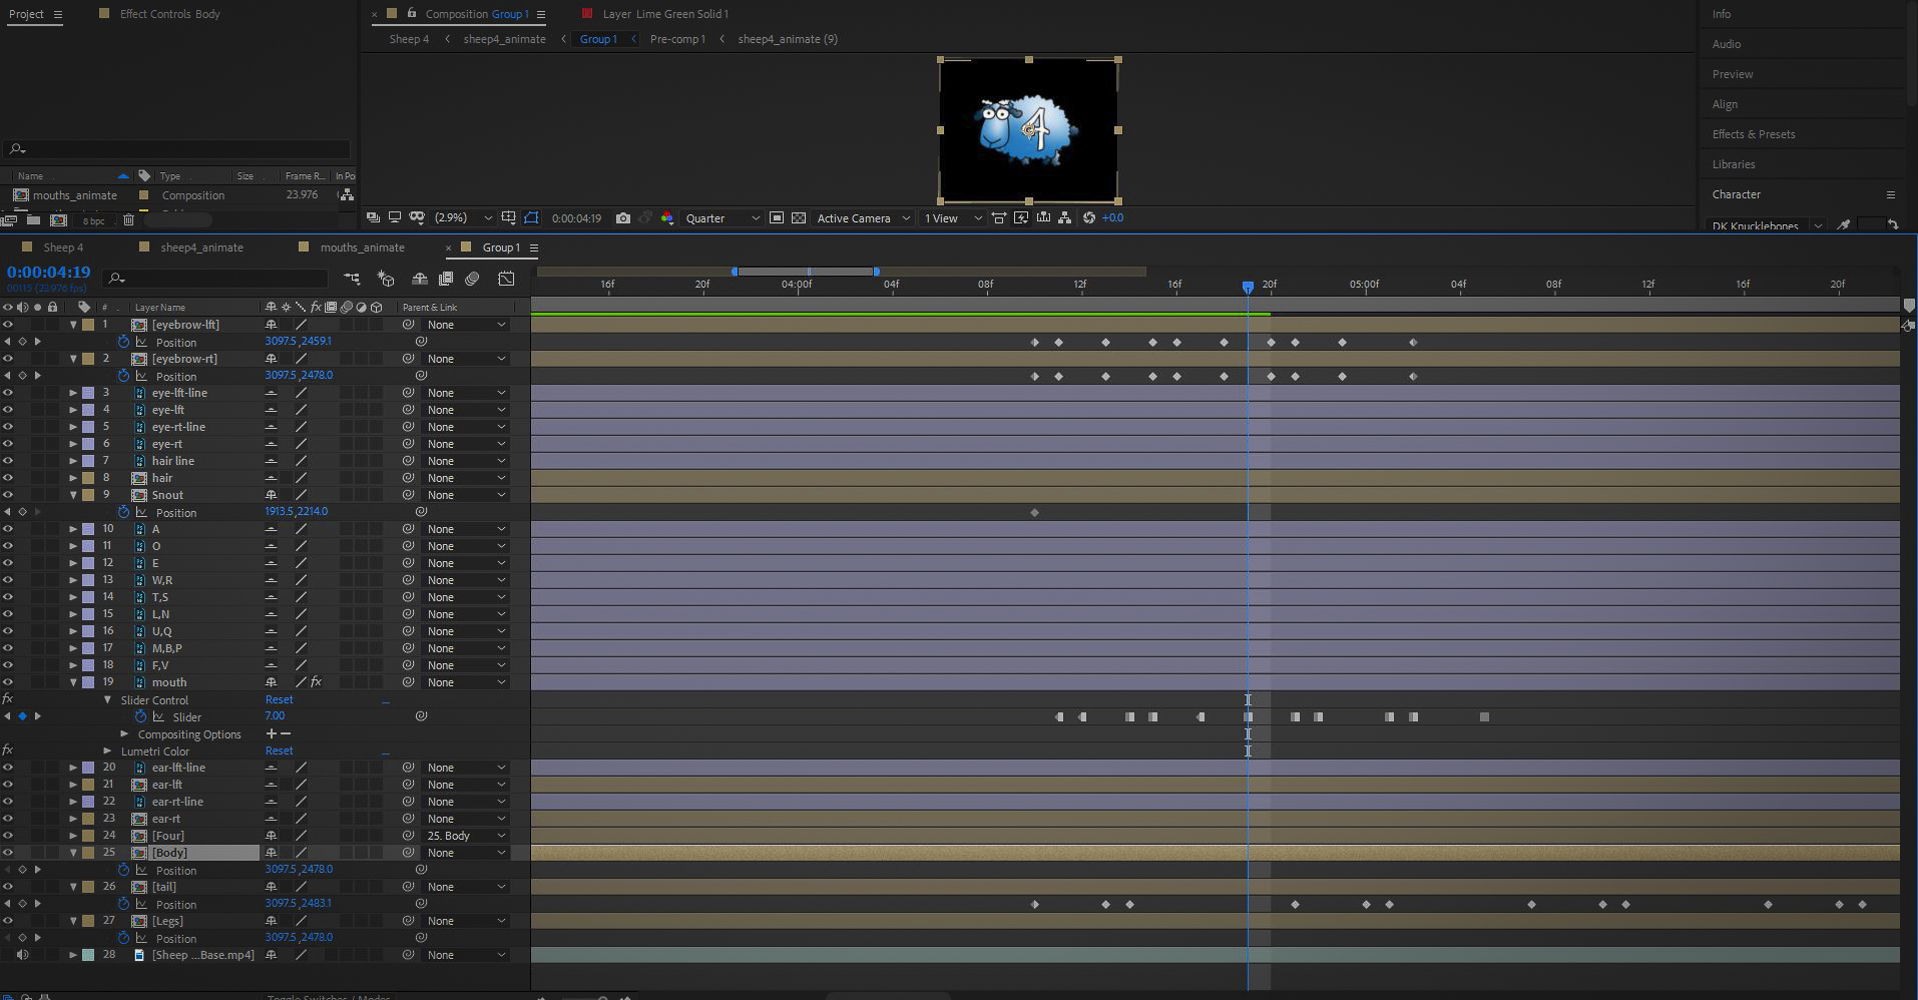
Rinse and repeat this process for every single sheep.
Pro-tip: Don’t eat, drink or sleep until this is completed and you will reach enlightenment.
ANYWAYS.
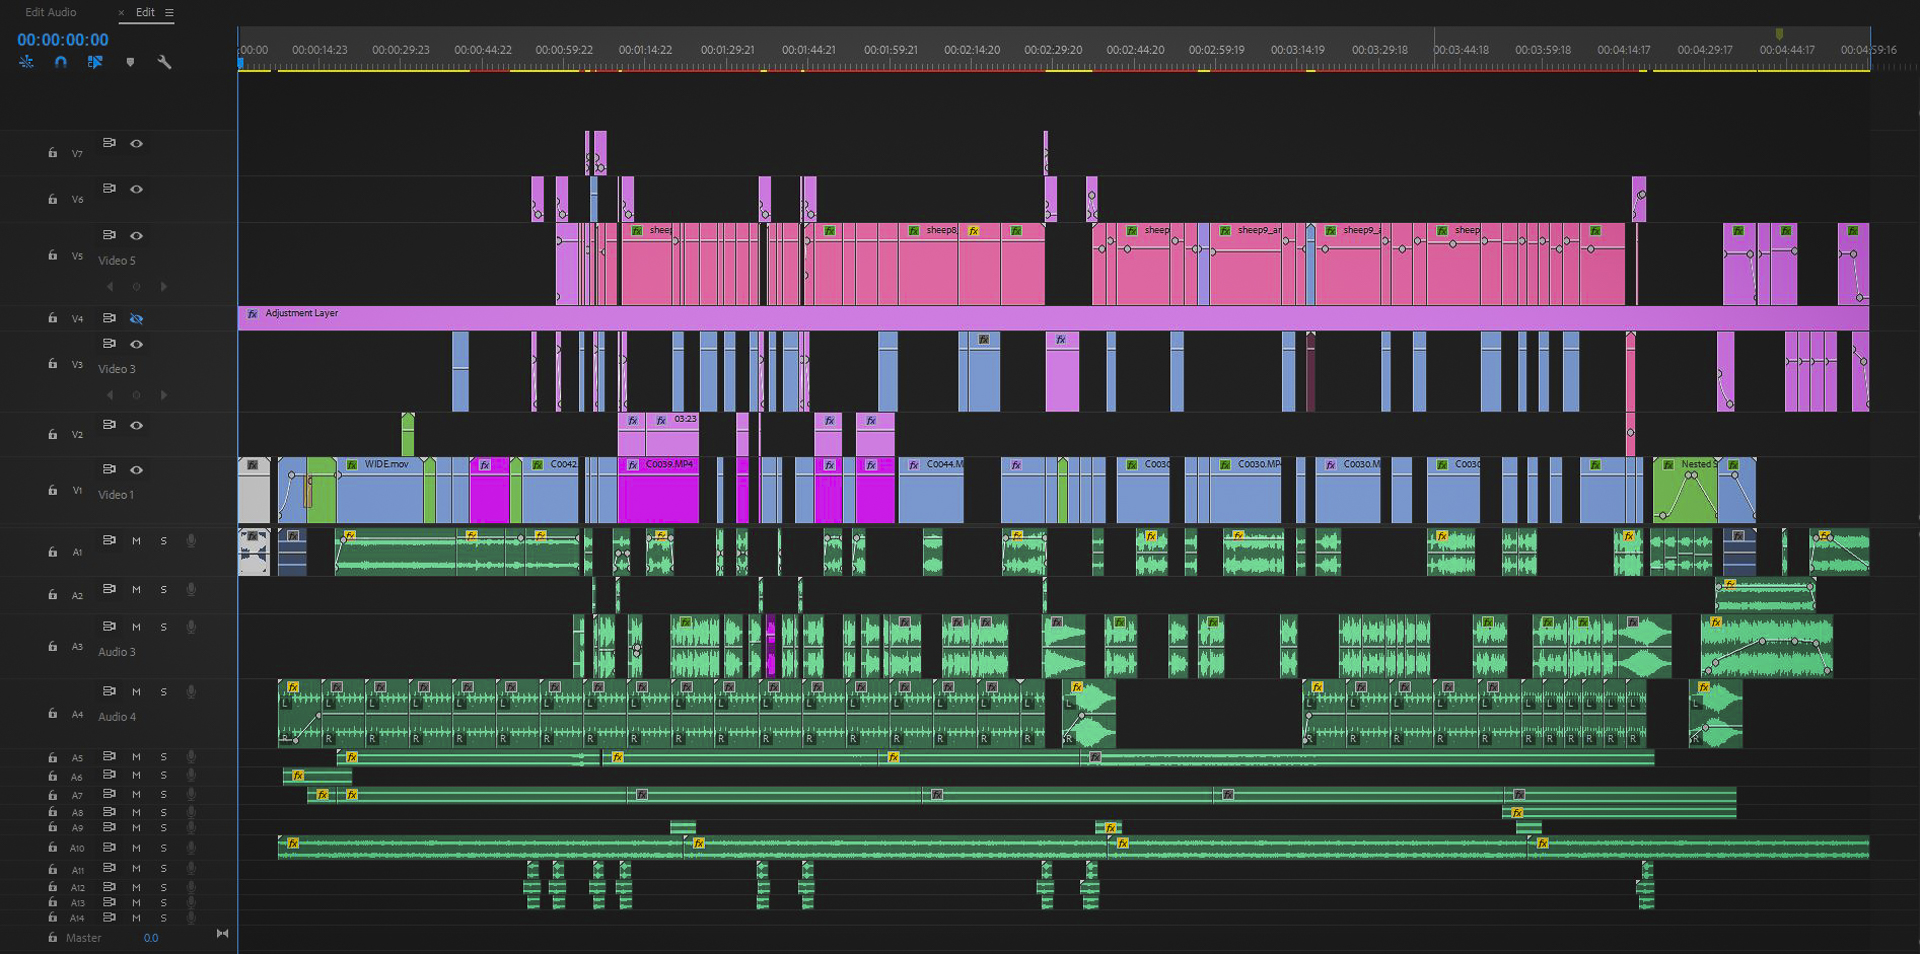
Once this is done – audio is next. This is where we mix and combine all of the layers of audio that goes into this short. How many layers of audio could this be? After all, it’s only a few sheep talking to a random guy in a bed. Well, its quite a lot of layers.
For good sound design, many types of audio are layered into the scene. These are: room tone, voice tracks, tonal beds, music, whoosh effects and hits and risers. These all add up to form a realistic recreation of a bedroom at night. Remember, this was shot at Noon.
Now that all of this has been done, the film is almost complete. All that is left is added the final credits, digitally replacing some clocks and color correction.
Oh, and a render.
This is it, the final stretch before completion. The final credits are simple enough, I find a font that matches the tone of the film and add the cast and crew to it. I add those in and the credits are complete. Cake.
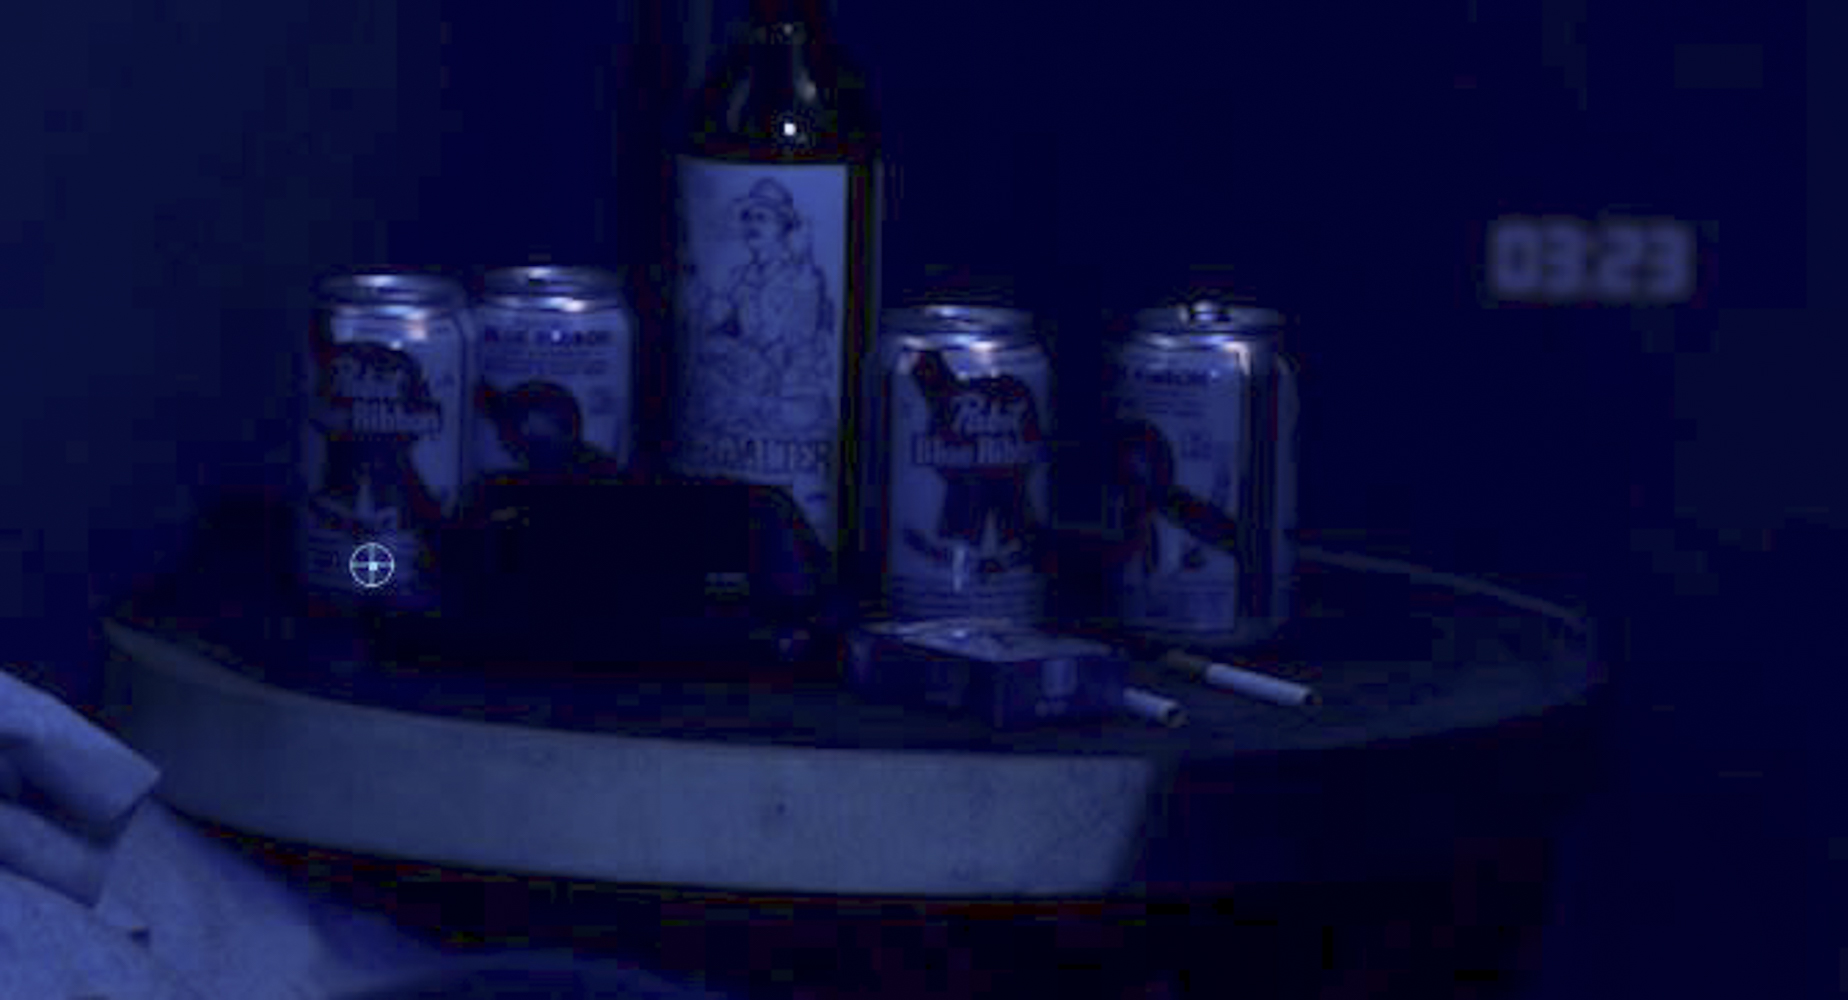
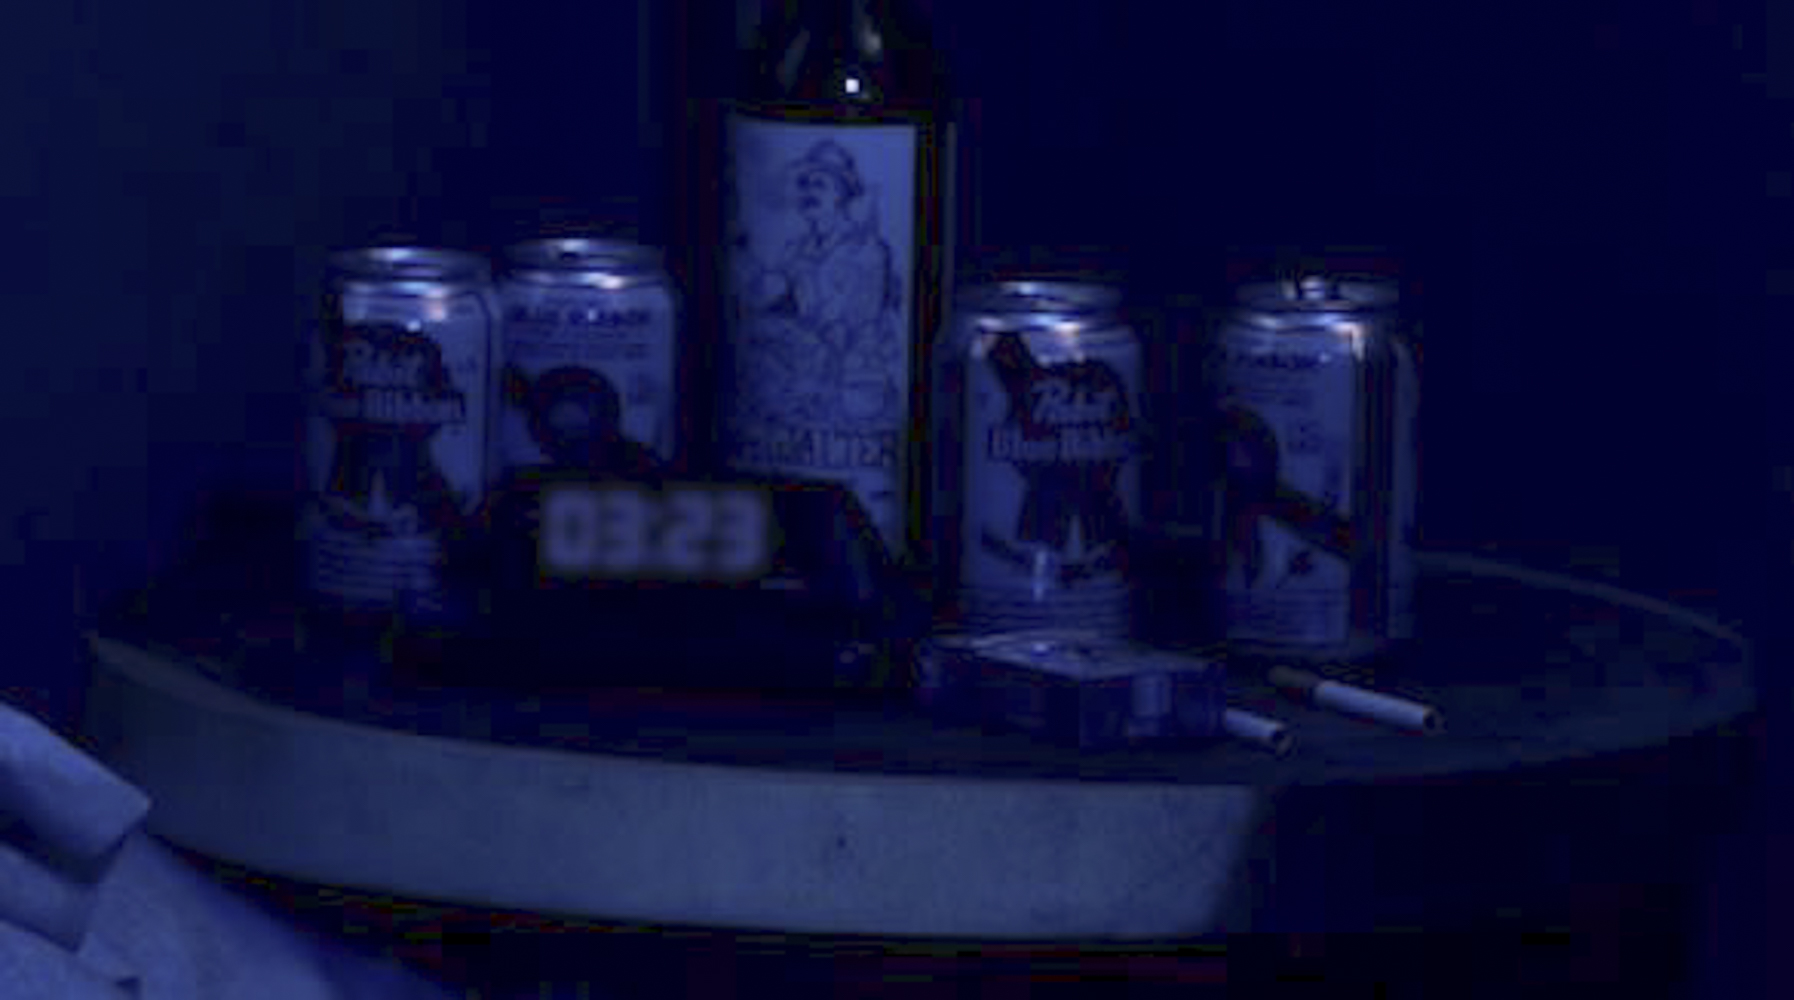
Although, the credits were easy to make, digitally replacing clocks is another story. For most shots, this is simple, I add the clock font in and layer over top my footage (occasionally masking). For others, this takes a little longer. A few shots require the clock to be tracked – which I accomplish using the camera tracker in After Effects.
Now, with that accomplished, I can move onto the final color grade and RENDER THIS THING.
Color grading is an art of its own. There are so many options available today when it comes to coloring your film, so my personal recommendation is to hop on over to your local internet browser and investigate. For this film, the grade was an important component of the “day for night” effect.
To create this grade, I used a LUT. A LUT is a mathematical formula that adjusts your footage’s color to match the one of the LUT. It’s basically a color effect that works differently on all types of footage. Once this was done, I added another adjustment layer to desaturate my shadow values and blur my blue channel. Finally, I went through my clips one by one to make final tweaks to the images contrast, exposure, saturation and black and white points.
ANNDDD. THAT’S IT. Talking Myself to Sheep is officially a finished short film.
Mostly.
The final step in the entire editing process is the render. I choose the file codec as well as different bit rates to set the render up for visual success – and then I say go. The computer then begins to create a “video file” version of my project. With the large number of layers, effects and linked compositions in this project, the final render of this 5-minute short film takes about 4 hours.
“Now it’s time to release it to the internet and festivals” said the Birds.
And this is where part seven of A CERTAIN WAY TO MAKE A SHORT FILM series comes to a close. The film is now complete, but it needs to be released. The creation of this film has been a long, strenuous and rewarding – all good things.
Anyways, thank you so much for reading! If you would like to hear more about my content, just hop on over to my socials:
![]()
![]()
![]()
![]()